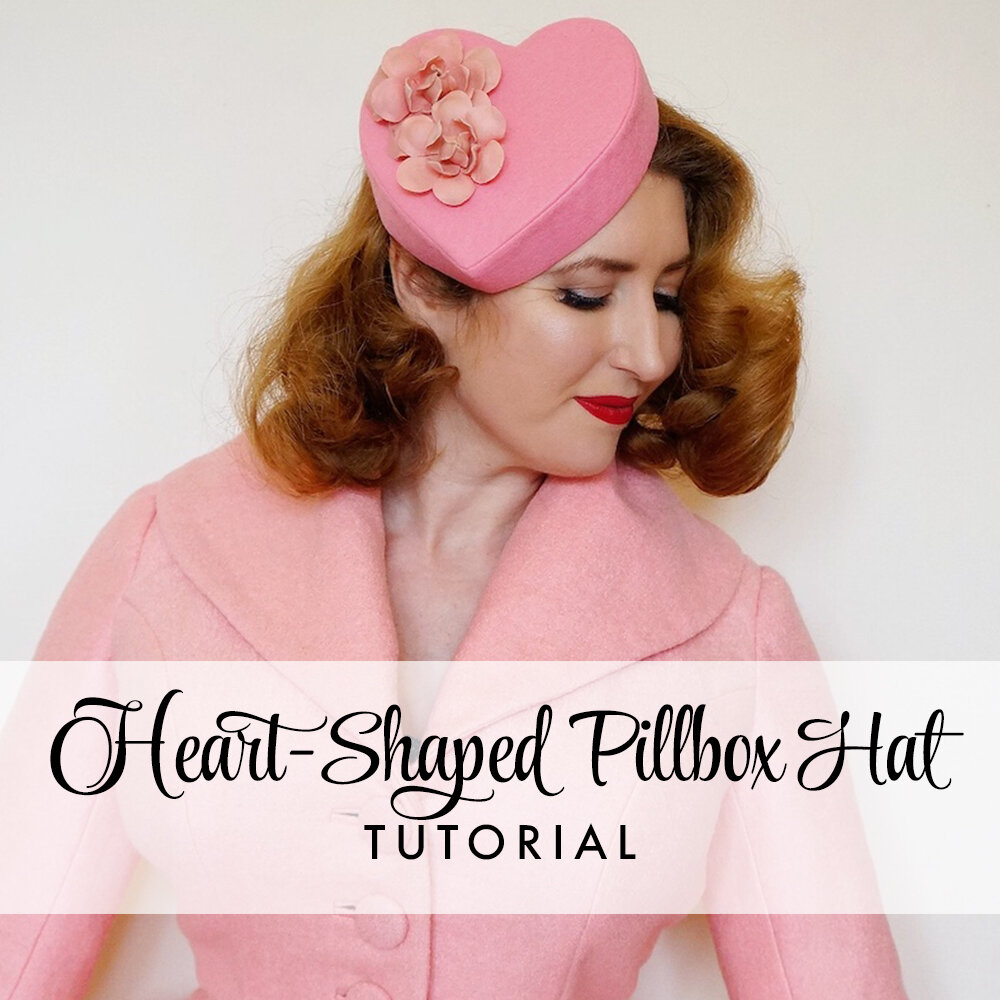
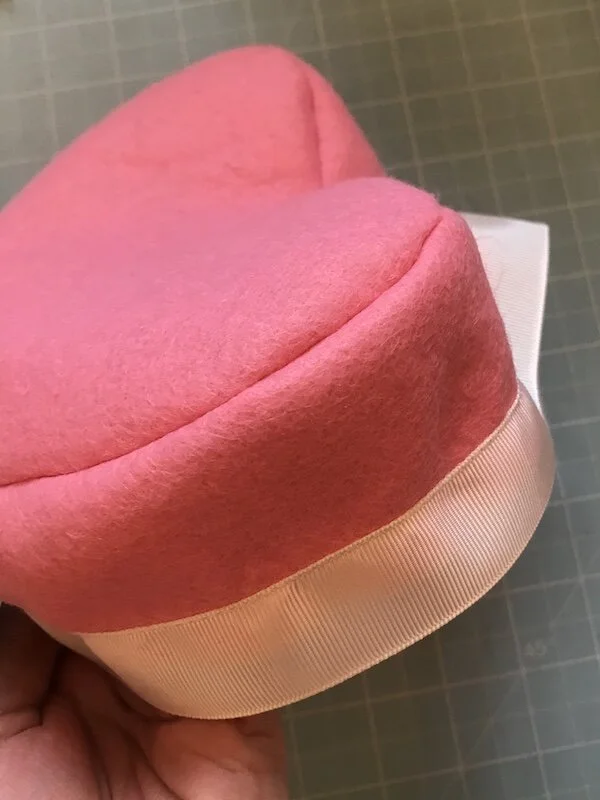
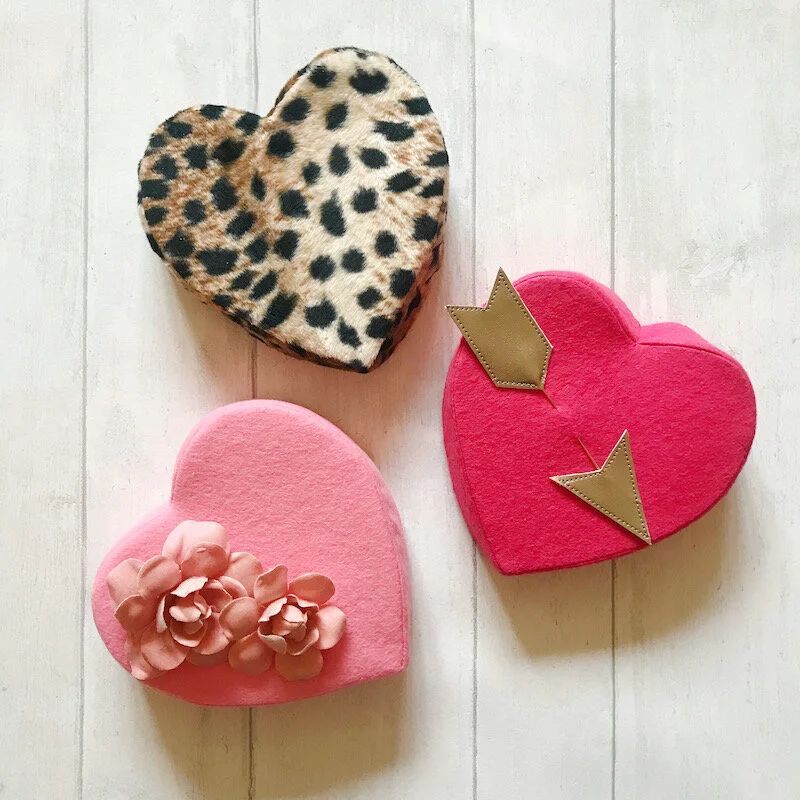
What could be sweeter than a little heart-shaped percher pillbox hat? I love all things heart-shaped, and spent many years wanting the perfect heart-shaped hat for Valentine’s Day until finally deciding to make my own! This is actually the second heart-shaped hat how-to I’ve shared, following up on last year’s easy heart-shaped beret tutorial.
The free printable pattern contains all the pieces you need to make this sweet hat. I designed the pattern entirely from scratch; the hat band is slightly shaped so that it’s deeper at the top to give it a tilt, and it’s secured in place on the head with elastic.
A couple of notes on the printable pattern: the paper is sized to A4, so if you are printing on US letter please ensure the scaling is set to 100%/actual size. The pieces for the band are designed to be cut on the fold of fabric, or printed twice and pieced together at the dotted line. If you are working with 12” squares of felt and need to seam two halves together you will need to add a seam allowance onto that end of the pattern piece.
You will need:
Stiff buckram or nonwoven pelmet stiffening
Felt or fabric to cover the hat
Grosgrain or Petersham ribbon (mine is 1”/2.5cm wide)
1.5mm round elastic for the head band
Hot glue gun (optional if you prefer to glue rather than hand stitch)
Make the buckram base
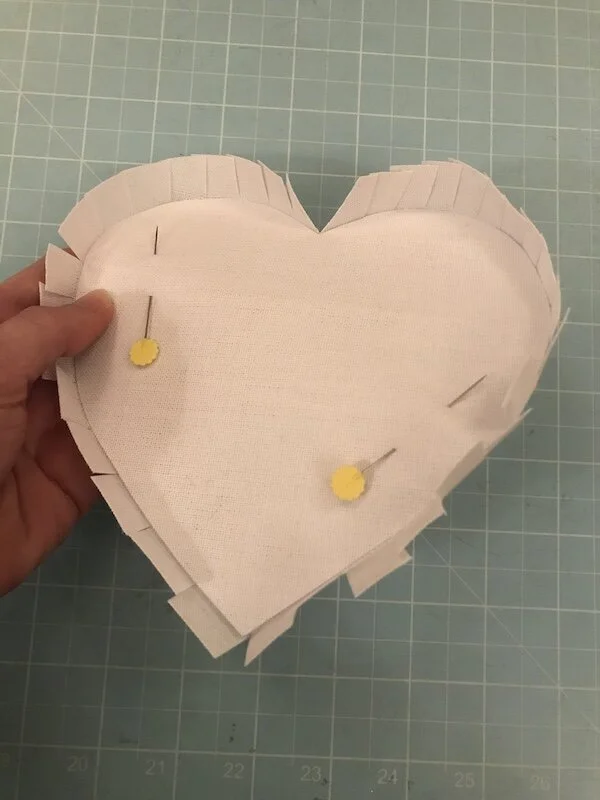
First, make the buckram crown base: Clip the seam allowances of the larger buckram heart. I find the easiest way to do this is to lay the smaller heart on top, centred, pin in place and then snip around it. Then carefully fold in each of the ‘tabs’ around the smaller heart.
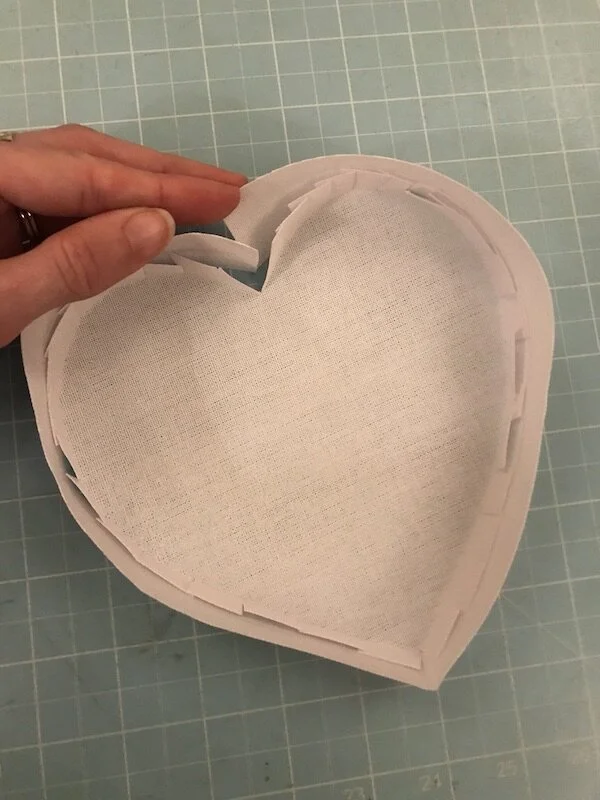
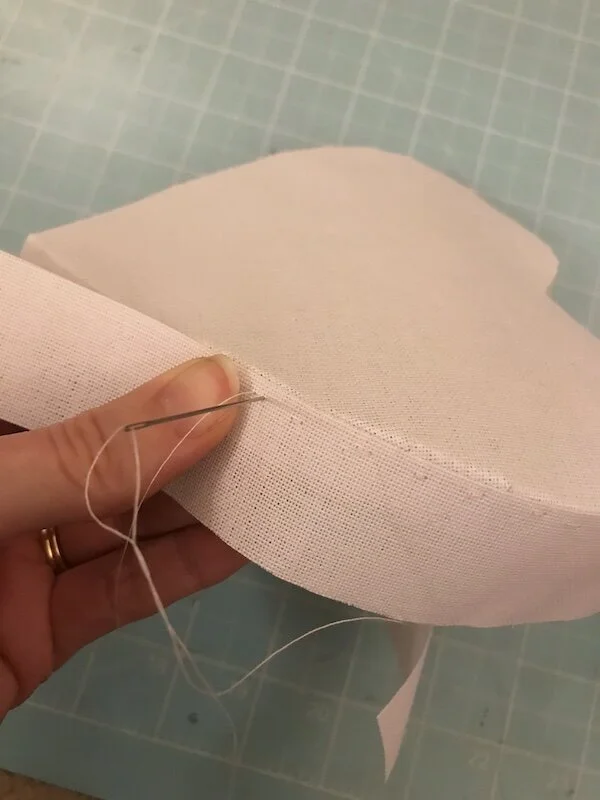
Next, take your buckram band. Crease the band in the centre (this will be the V-point of the bottom of the heart). Then, with the flat edge at the top and starting at the V-notch at the top, hand stitch or glue the band in place, making sure the tabs of the top crown are neatly folded in.
Sew the outer crown
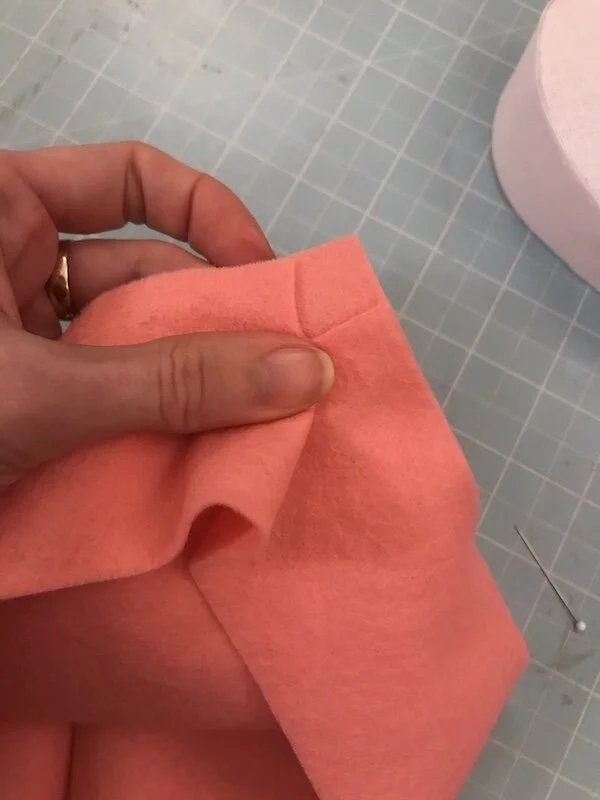
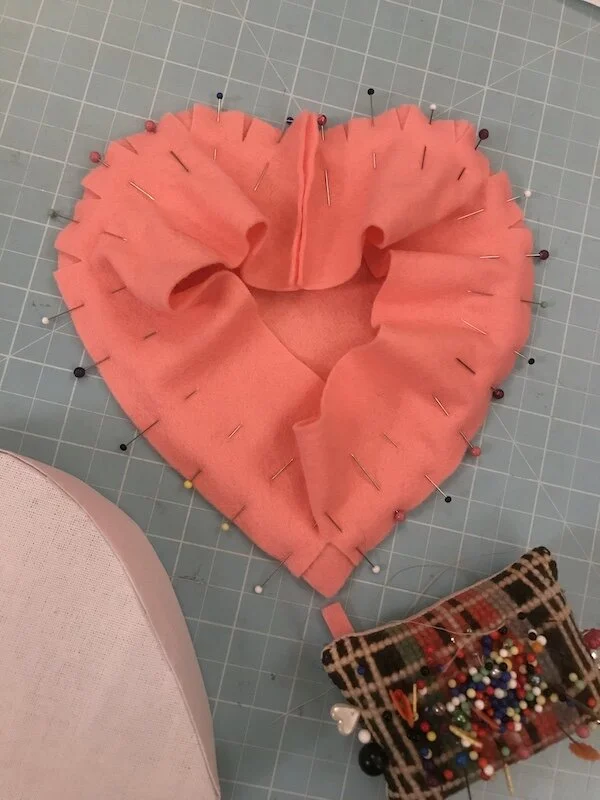
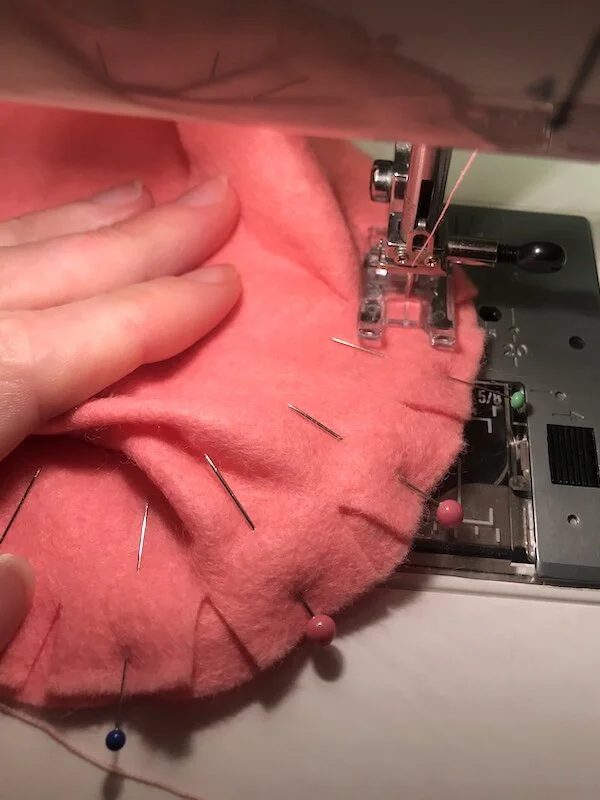
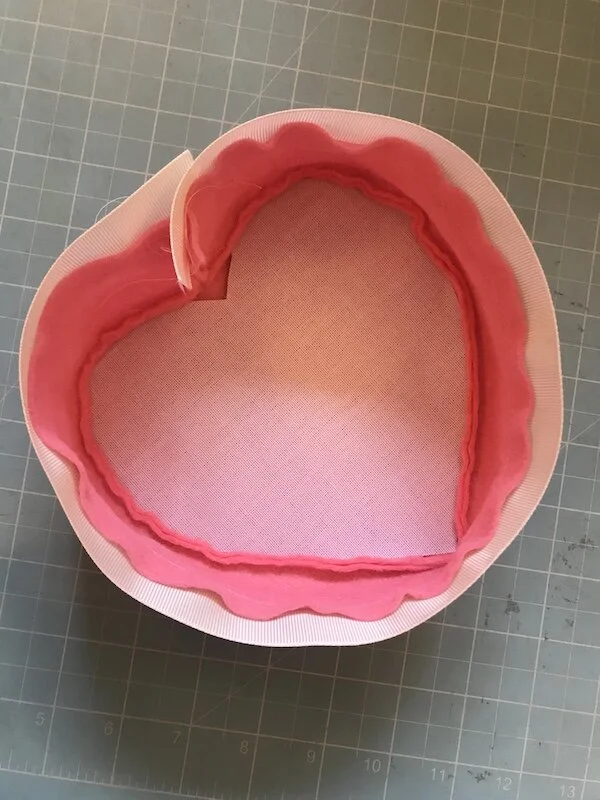
Seam the ends of the outer fabric band together. Find the centre point and clip into the seam allowance (this will be positioned at the bottom V-point). Pin the band around the heart, clipping the seam allowance around the curves to fit. At the point of the V, pivot the band on the cut you made, to turn the corner of the V. Stitch all the way around the crown, then trim the seam allowances down to about 1/8” / 3mm.
Attach the grosgrain band
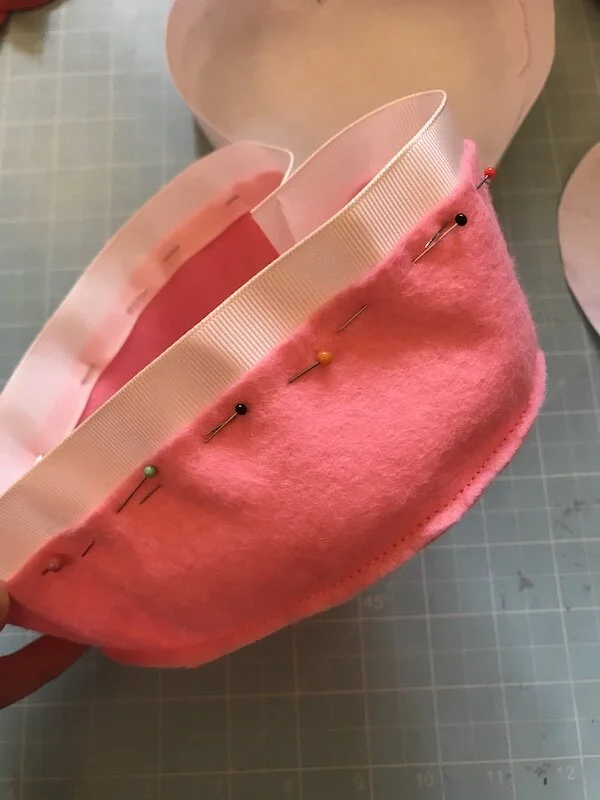
Cut your grosgrain ribbon to the same length as the band (with seam allowance). Without turning the crown right side out, pin the grosgrain band to the inside (i.e. the outside when it’s turned the right way round) of the band, overlapping by about 3/8” / 1cm.
Assemble the hat
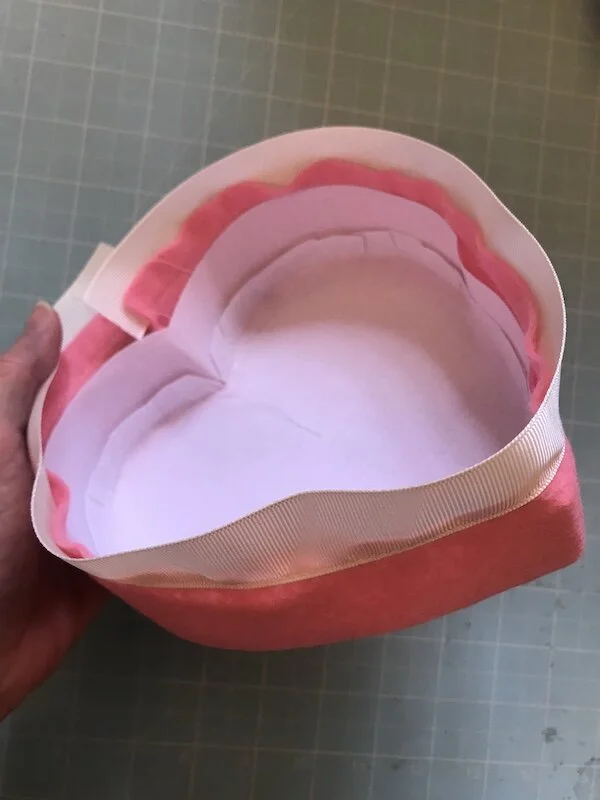
Nestle the smaller buckram heart shape in the outer crown, making sure it’s against the seam all the way round (this just provides extra stability in the crown). Then insert the assembled buckram base - it should fit nice and snugly. Ease it into place, stretching the outer crown over it so the edges fit neatly against the seam.
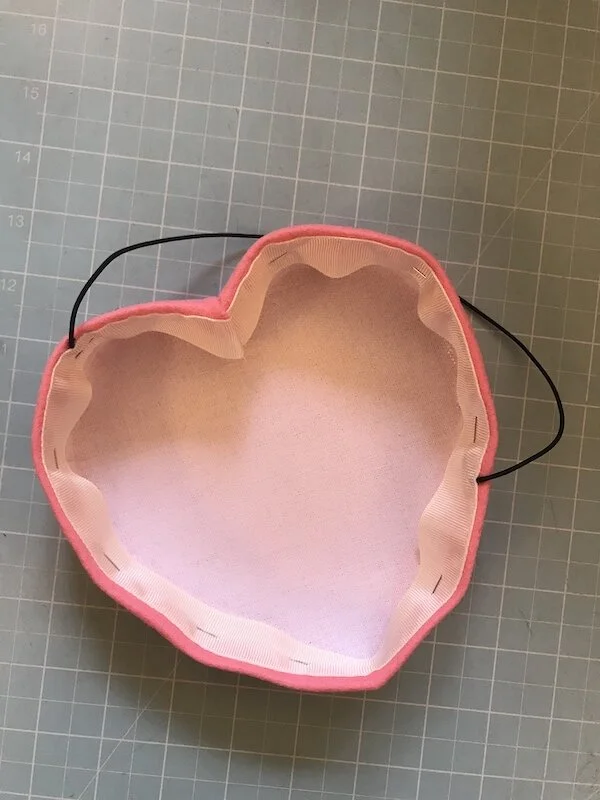
Flip the grosgrain band to the inside, pulling the outer fabric taut over the frame. I seamed the ends of the grosgrain band together by hand at this point (I found it easier to do it this way round rather than seaming them together first, but feel free to experiment with the order!).
Cut a length of elastic about 14”/35cm, thread through the stitches to the underside of the grosgrain band, and knot the ends to secure. Pin the grosgrain band in place, then either hand stitch or glue to secure.
And your hat is done! All that’s left is to embellish as you choose.
You can choose to leave your hat undecorated as I did with my leopard print faux fur version, or go wild with embellishments! Some ideas include:
Decorate with vintage millinery flowers
Cut words out of felt for a conversation heart effect (“BE MINE” is included in the pattern)
Add lace and ribbon bows so it looks like an old-fashioned candy box
Pierce it with a Cupid’s arrow hat pin (arrow and fletching included in the pattern)
Make it fancy with birdcage veiling
This heart-shaped tilt hat is perfect for Valentine’s Day and can easily be styled to any era from 1940s to 1960s. I can’t wait to see what you make! Don’t forget to tag me @tuppencehapenny if you post pictures of your make on Instagram.

