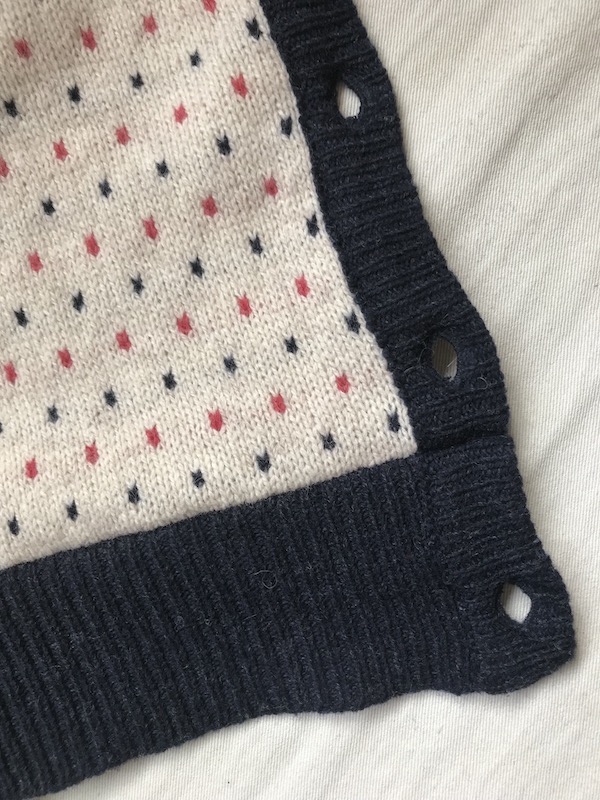
This simple refashion is perfect for turning a slightly shapeless knit into a retro pinup sweater - and it literally only involves three seams! My original is a wool-blend cardigan from Primark - the design was cute, but the sweater was shapeless (basically just a straight rectangle) and too long for my preference since I generally wear skirts I like sweaters to hit the waist. Plus the buttons gaped at the bust. I’d hung onto it because I like the design and colours, but it just never got worn. Prime candidate for a restyling project!
The refashion was pretty straightforward and can be achieved in under an hour. First I took up the length by pinching it out just above the ribbed waistband to take out about 3”. I pinned this up with the cardigan buttoned (to ensure the seams would line up at the button placket). Just to note if you are working on a cardigan, take care when measuring the amount to take out that you don’t end up with two buttons either right next to each other or too far apart. It’s okay for the bottom two buttons to be a bit closer together than the others, but if the gap is super obvious it starts to look a bit weird.
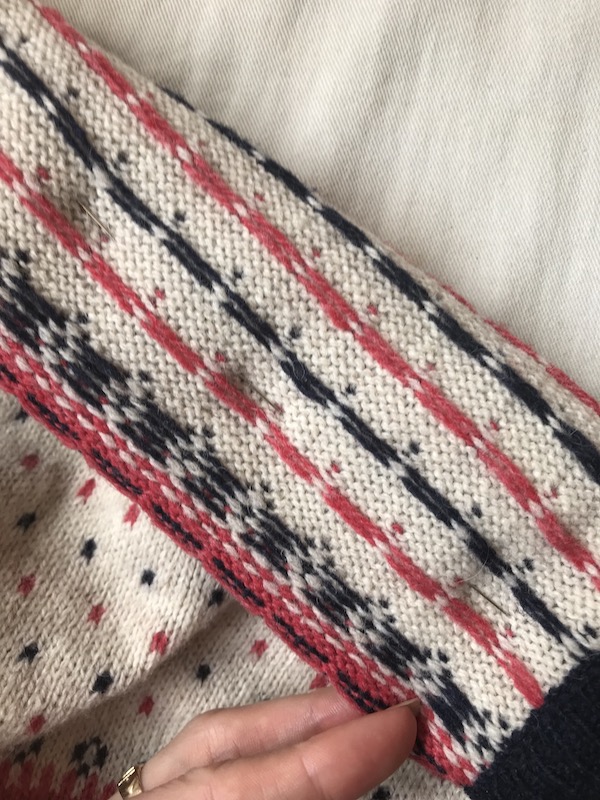
Pinch out the excess length above the waistband, and pin along the very edge of the waistband
As you pin, ensure the pins line up with the knitting lines on both sides.
Stitch along the pinned line, being careful to line up the edges of the button placket if you’re working on a cardigan - I used an extra pin to keep the edges flush.
I used a zigzag stitch, to allow the knit to stretch and avoid popped seams.
Having stitched the seam, cut away the excess (I left a generous seam allowance of about ⅝” to protect against ravelling). I did it this way round as I was initially worried about the knit unravelling, but as it turns out, it hasn’t been an issue after a year of wear - although if you’re concerned you can always finish the raw edges with a zig zag or overlock stitch (or overcasting by hand), and you’ll want to launder gently. Press the seam open, or if you’ve zigzagged/overcast the edges, press to one side.
I don’t have a serger so the seams are raw, but I haven’t had any problem with my sweaters unravelling!
Nice and neat!
The next step is to taper in the side seams from armpit to waist for a more fitted shape. Having determined the waist measurement I wanted, I measured equal amounts in from each side, then used a disappearing ink pen and a ruler to mark a diagonal line from the armpit to the top of the waistband. Pin along this line, matching the waistband seam and lower hem.
Measure in from the side…
…then mark the stitching line, either with a disappearing ink pen or pins.
And to resolve the button-gape issue? I wear it backwards as a vintage-style back-button sweater! An alternative might be to simply zigzag the button placket closed, so I can wear it right-way-round without gape, but I actually really like it this way - and it results in a slightly higher front neckline, which is more vintage-looking anyway.
This is already the second sweater I’ve refashioned in this way, and I love that this simple technique opens up new possibilities - I need never pass on a cute sweater just because it’s not a fitted enough shape!


